Hash has always been renowned as one of man’s favourite creations from the cannabis plant, and there’s no denying why. It contains high amounts of THC and is made from the most potent part of the plant – the trichomes. If you would like to learn how to make your own hash at home with basically no expertise, this article is for you!
So you would like to be the guy or girl with the really good hash. Luckily, it’s pretty easy to be just that. Making your own hash is probably a lot easier than you anticipated, although it can be costly and time-consuming. However, it doesn’t require any kind of special expertise to make your own hash. Rather, it just requires a simple understanding of what hash is and the physics behind making it.
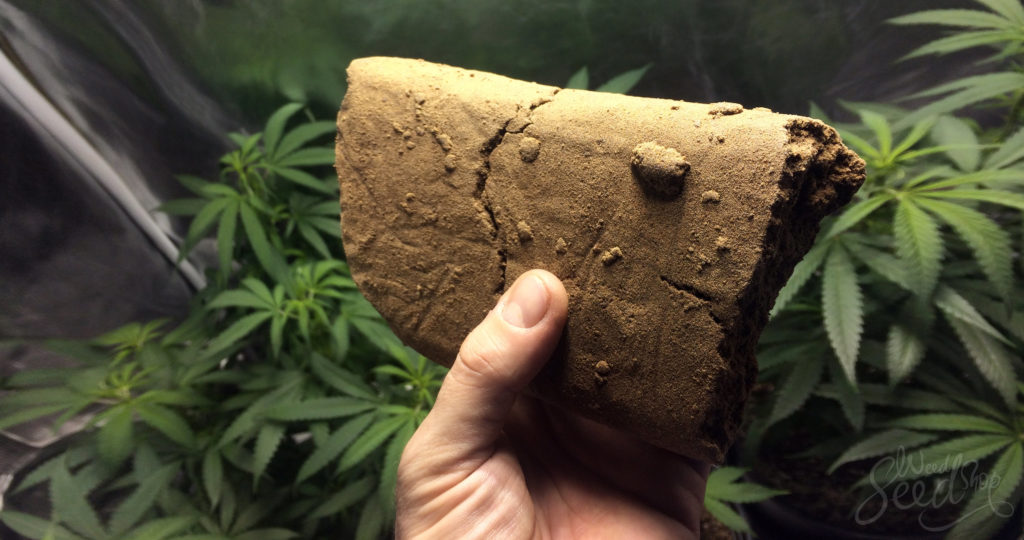
Hash is a concentrated form of cannabis that is high in THC. It can be made from just about all the parts of the cannabis plant except for the stems and the seeds. The trichomes (crystal, dew-like stuff on the buds) are what create hash, and so making hash is all about separating the trichomes from the rest of the plant material. What comes out is very dense and sticky, high-quality weed. There are a number of different ways to make hash, from manual labour to using machinery. You can make hash in your own home relatively easily with some bud and materials from your kitchen.
The hand-rolling method
Although this method is extremely time-consuming and a little bit tiring, it probably produces some of the most high-quality hash. This is probably not the best method if you are looking to produce high volumes of hash. This method is more suited to those who are making hash for personal use and don’t have to be in production all the time. For this you can use the buds or the leaves.
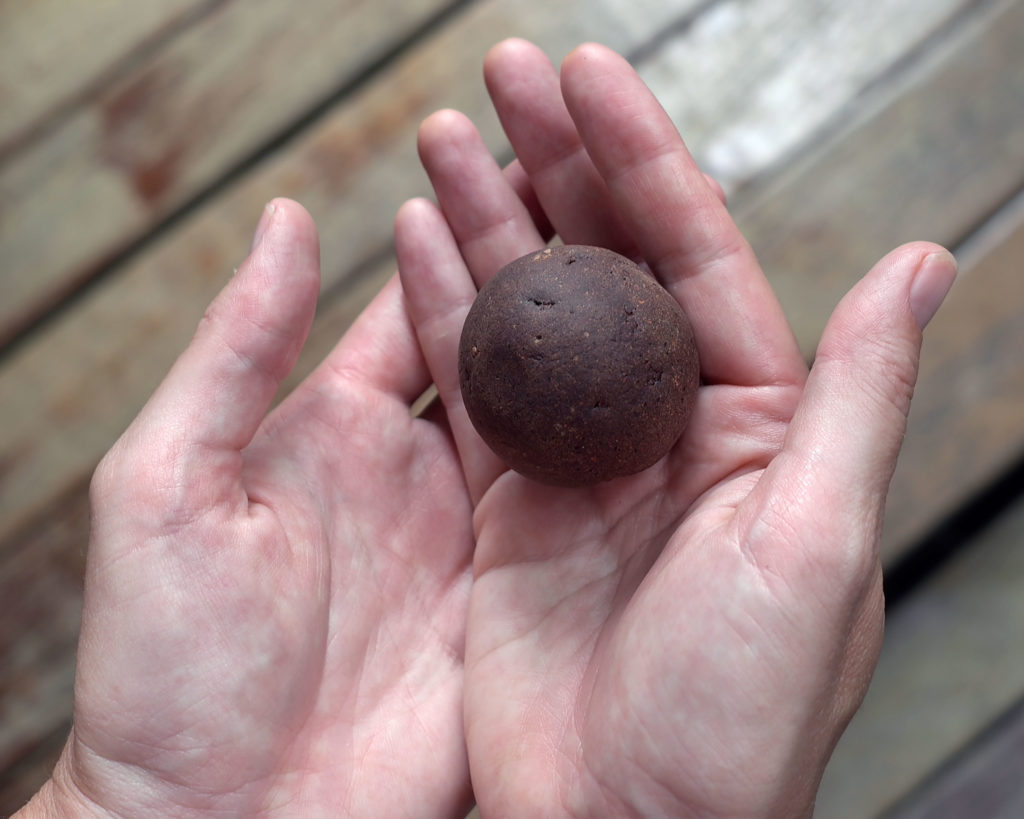
Make sure your hands are clean and your bud is properly dried. You can either use the palms of the hand or the thumb and index finger. The idea is to roll it between the palms or between the thumb and forefinger. After you do this gently for quite some time, a film will begin to form on the skin where you have been rubbing it. Continue to do so until a resinous material collects on the skin. Just scrape it off the skin and press it. Feel free to press it into whatever you like — your very own gumbo made out of hash!

The pollen-catcher method
Of all the methods, this one is the most time-consuming and produces the least amount of hash, though it still does the job. This method is definitely for those who wish to invest basically no effort at all into making their hash and don’t care if it takes forever. This method is using a pollen catcher.
If you store your weed in a container in which you have put a screen at the bottom, the agitation caused from opening and closing your container will cause trichomes to fall off. The mesh screen will catch them and from this you will be able to collect some hash. You don’t have to do anything other than leave the screen in there for a long time while you go on smoking your weed. After some months you’ll have something in there to smoke.
Blender hash: The blender method
The blender method of making hash is going to produce far more hash than the last two methods, and requires less time. This method relies on two principles; that trichomes are heavier than water, and that if they are cold enough they will break off very easily. The bud is put into a blender with ice and water and the agitation causes the trichomes to fall off. With a filtration process, you can then extract the trichomes from the water.
So for this method you will need about 1 ounce of weed, a blender, 2 glass jars, two coffee filters, ice, and water. Using 1 ounce for this method should get you anywhere between 5 and 7 grams of pretty decent-quality hash.
Half fill your blender with plant material, and then top it up with ice and cold water. Blending for one minute should be long enough. The idea is that turning on the blender while the weed is soaked in cold water and ice will make the trichomes fall off into the water. It should look like a frothy cannabis smoothie when you turn the blender off. The next thing to do is to filter it. Using a coffee filter, pour the mixture into a glass jar. Then put it in the fridge for 30 minutes.
What will happen while the mixture is in the fridge is that you will notice the trichomes begin to collect on the bottom of the jar. Remove as much of the liquid as you can (around 2/3) without disturbing the trichomes at the bottom. Now, you can put the jar in the freezer for ten minutes. Once this is done, you can filter the remaining liquid through another coffee filter into your second jar. What is collected on the coffee filter is your hash. You just need to leave the filter somewhere to dry for anywhere from a few days to a couple of weeks. Then just collect your hash from the filter paper!
How to make bubble hash
Bubble hash is probably the most expensive kind to make, but it is the best if you are looking to produce high volumes of quality hash. This method requires the specialised equipment of bubble bags, which are bags that have a sieve on the bottom. The bags come with sieves of different sizes (the sieves are categorized by microns) and, through a process of filtering them through these different sizes, you are able to obtain varying qualities of hash. It combines using ice and water, as well as the sieves, in this bag to produce the final product. This method will also get you about 5-7 grams in total of hash.
For this method, you are going to need a set of hash bags (they come in sets of X), two 20-litre buckets, an electric whisk, a lot of ice, water, and buds. Make sure you have enough ice ready to go before beginning the process, because you are going to need a lot of it. Begin by filling up one of your buckets with all of your ice, putting in your weed, and then topping it up with water. Now use your electric whisk to mix away. You can mix for as long as you like, but about 45 minutes is recommended. The longer you mix it, the more you sacrifice quality for quantity, so don’t whisk for too long.
Once you are done mixing, pick your hash bag that has the biggest holes (usually between 200 and 250 microns). Put this bag inside your second bucket and empty the contents of the first bucket into the bag. Shake and squeeze the bag to get as much water out as possible, and then put this bag aside. Then you are going to stack your hash bags from smallest to largest. This means you will take your smallest bag and put the second smallest bag inside it and so on. It is kind of like a Russian doll of hash bags. Then put these inside the first bucket which you emptied.

Now you can pour the green liquid which came out of the first strain into the stack of bags you have in your bucket. The idea is that the liquid will continue to strain through the bags until it reaches the bottom one, which has the smallest holes. It could take some time for the water to get all the way down to the bottom, so be patient. You can agitate the bags slightly to encourage water to move, but do not shake them too much. The idea is that, with this system of the size of the holes in the bottoms of the bags, that you will collect varying grades of hash.
Remove the bags from the bucket (all in one movement) and then put them aside. You are basically going to repeat this process again. So put your bag with the biggest holes in the empty bucket, and pour the green liquid you have left after filtration through the bag one more time. Squeeze the bag to get out as much water as possible. Then put the rest of the hash bags in the empty bucket. Pour the liquid through again.
From here, remove your hash bags one by one and collect with a spoon the hash that has formed on the bottom of the bags. It will be quite damp when you collect it, so have a paper towel somewhere so that you can put it there to dry. It could take several days to dry.


For the blender method should the bud not be fresh frozen as well?