Bongs are a favourite among those serious about their cannabis. But not everyone has one, and those that do sometimes find themselves in the midst of a “bong accident” or just simply can’t find theirs. No worries weed lovers. We are here to save the day so read on and let us show you how to make your OWN bong.
Nothing is more tragic than purchasing your favourite strain of cannabis only to discover you don’t have anything to smoke it out of.
In true emergencies, you can always resort to buying papers or finding an alternative and rolling yourself a joint. But not everyone has joint rolling expertise.
In situations like these, it’s best to learn an ancient art passed down from adolescent to adolescent: the art of the creation of a bong.
You’d be surprised how easy it can be done. All you need is a little bit of know-how and some common household supplies. With this guide, you will be able to rig your own bong out of just about anything you have on hand.
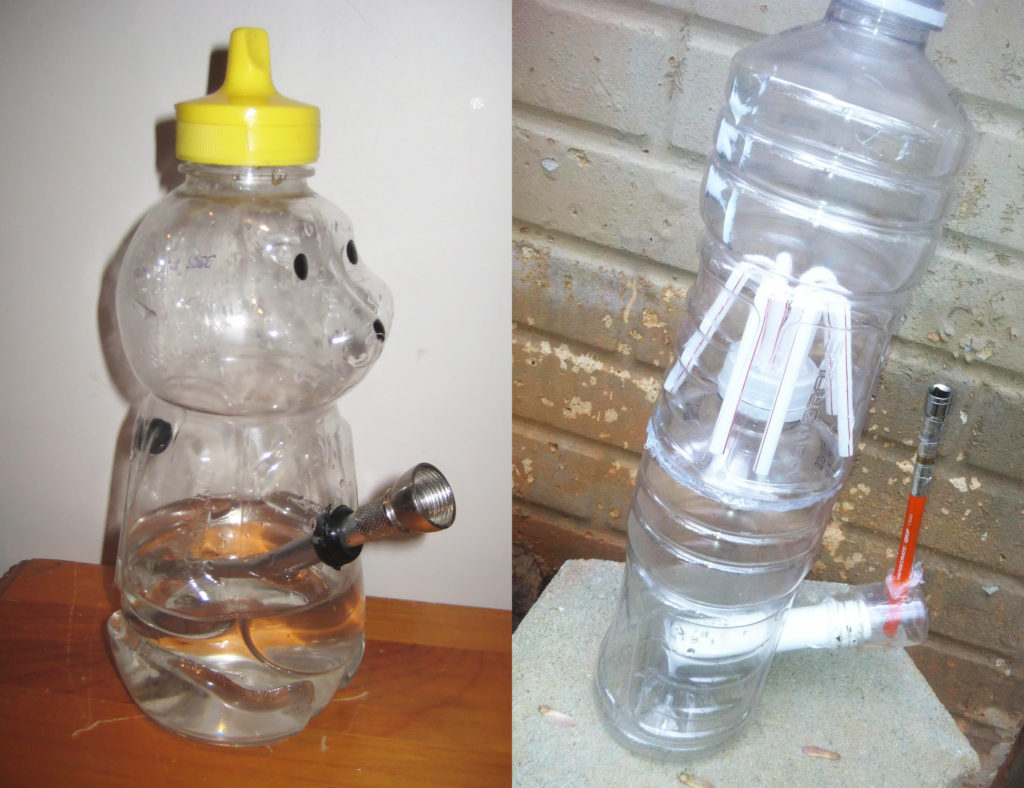
How To Make A Bong With A Water Bottle
A water bottle bong is the most time-honoured makeshift bong out there. It’s incredibly easy to make and extremely effective if you do it right.
There’s also a number of different ways to rig a water bottle bong. We’ll start with most traditional method first. For this, you will need a water bottle, a paper clip, a lighter, a stem, and a bowl.
If you don’t have a tradition glass stem and bowl there are things you can use as substitutes.
For the stem, a narrow metal pipe or a hollowed out pen tube works well. Try to find a metal pen if that’s the material you’re using.

You can get away with using plastic, but you need to be careful about how close the flame gets to it. Inhaling fumes created from burning plastic or aluminium can be harmful to your health.
A good alternative is going to your local hardware store and buying some small and narrow metal tubing.
And while you’re there, buy a metal socket. Few things can act as a substitute for a traditional bowl as effectively as a socket.
Once you have all your supplies gathered, the crafting process is simple enough.
- Begin by heating up the paperclip and making a small hole in the water bottle about two inches up from the bottom. The hole should be large enough to fit your stem but small enough to fit snugly. You don’t want any smoke to escape through this whole once you’ve inserted the stem.
- Make sure to insert the stem into the hole at an angle. To ensure no smoke escapes, seal the area around the hole with either gum or tape.
- Blow through the mouthpiece on top of the water bottle and place your hand around the hole. If you feel air coming up, you need to do a better job using the sealant.
- Next, attach your bowl to your stem. If you used a metal socket with a metal pipe of equal width, you can easily screw the socket onto your stem. If not, attach the socket to your stem using the same sealant you used for the hole.
- Fill the bottle with water until your stem is covered up to one inch. Use the heated paper clip to make a clearing hole around the middle of the bottle. Make sure the clearing hole isn’t below the water line, or you’re going to make a mess.
- Now all that’s left is to load your bowl with your favourite strand, place one finger over the clearing hole, and light the filled bowl as you inhale from the mouthpiece on top of the bottle. It’s important to inhale lightly during this part, you just want the weed in the bowl to fully ignite.
- Once you see the water bottle filled with an ample amount of smoke, lift your finger off the clearing hole and inhale fully.
How To Make A Bong Using Water And Gravity
The other method of using a water bottle is to make a gravity bong.
Gravity bongs are a little simpler to make than the traditional water bottle bong but are just as effective.
For this how to make a bong kit, you simply need a paper clip, a lighter, a water bottle with a twistable cap, and a small socket.
- The first step is to create your removable bowl. To do this you need to light the paper clip with your lighter and then use it to carve a small hole in the centre of the water bottle’s cap. The metal socket needs to fit snugly into this hole so make sure it isn’t too big or too small. A good way to do this would be to create a small opening and then force the socket into the opening to create the perfect size for the hole. The size of your socket will depend on how big a cap you are using. However, a 5/32” socket will usually work best.
- Next, create a small hole using the same heated paper clip method somewhere close to the bottom of the bottle. The hole should be small enough that you can easily cover it with a finger and big enough that a steady stream of water can still flow out.
- Pack your bowl with your flower and set it aside, but still well within your reach. Fill the water bottle almost completely with water while placing your finger over the hole in the bottom.
- Keep your finger on the hole and screw the lid with your bowl back onto the bottle. Light the bowl as you let your finger holding back the water go.
- Keep the flame applied to the bowl as the water slowly leaks out. You will see gravity do its work as the smoke from your bowl begins to slowly replace the water that is leaking out.
- Once the smoke is all that’s left in the bottle, unscrew the cap, inhale through the mouthpiece, and enjoy!
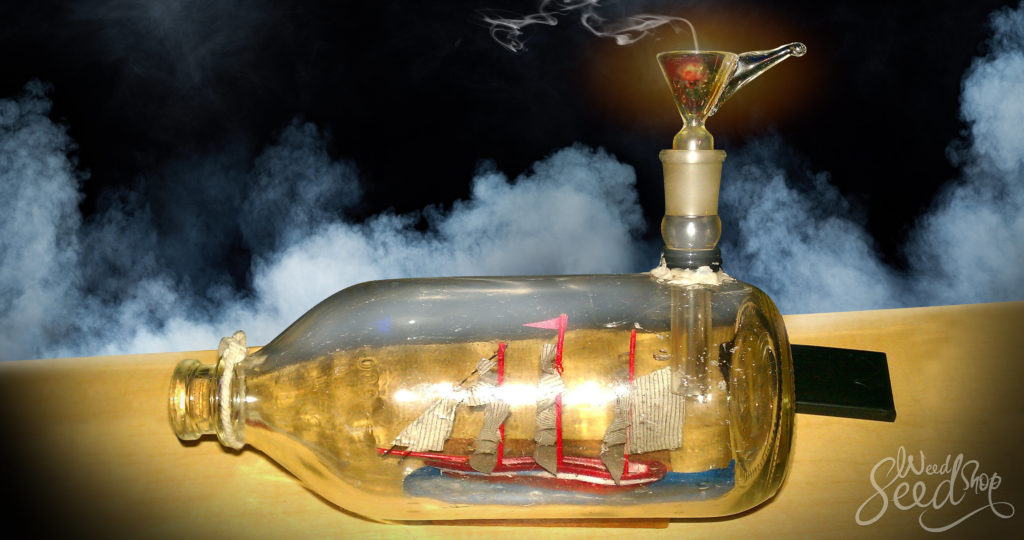
How To Make A Bong With A Glass Bottle

If you’re serious about making a bong yourself, you might want to step up your game. Water bottle bongs are great if you’re in a pinch but they you should not rely on them long-term.
If you want to know how to make a bong that will last and also give you the freedom to put your own creative spin on it, glass is the way to go.
Be creative with the vessel you choose to make your bong out of. Generally, you want something with a wide base and a narrow neck.
This is why choosing a liquor bottle is a good place to start. Many are designed in an ideal shape for a bong and there are a wide variety of unique looking liquor bottles to choose from.
After finding the perfect glass instrument, your next step is to buy a set of glass drill bits. You can find glass drill bits at any local hardware store or on Amazon.
Look for sets with at least three bits, with two bits under half an inch and one at half an inch. You’re going to need the smaller ones to drill the hole up to the half inch size you want the hole at.
- Use a piece of duct tape to cover the area where you are planning to drill the hole. The tape will help stabilize your drill.
- The hole should be made about in the middle of the base of your glass bottle.
- When you begin drilling, start with the smallest drill bit first. From there slowly work your way up to the half inch drill bit as the hole widens. When drilling, make sure to go slow. Apply as little pressure as you can. Drilling into glass is a delicate process. Rushing the job will lead to cracks or a shattered bottle.
- After the hole is made, you need to slide your stem into it. Glass stems can be found at any local tobacco shop or online for $5 to $10. Most stems have a diameter that will fit a half inch hole snugly but pay attention to their length.
- The stem should long enough to reach the midpoint of your bongs basin so it can be partially submerged in water.
- Make sure the stem fits. If the hole is too small you can always make it bigger. If it’s too larger, it might be wise to purchase a thicker stem.
- Next, you need to properly seal the stem in the hole. You can accomplish this in a couple different ways, depending on how you want to use the bong.
- If you want the stem completely sealed in place, use a coating of silicone sealant around the drilled hole to hold the stem in place. If you want to be able to remove the stem from time to time to clean it and the bong, you can purchase a rubber ring that will fit around the hole. This too can be found at many local tobacco shops. Making your stem removable is a vital step in how to make a bong clean.
- If you used sealant, let it sit overnight. This will ensure that the hold is watertight.
- Finally, rinse the bong to clean it from whatever debris might have accumulated during the construction process.
- Decorate the outside however you’d like to put a little bit of a personal touch on the piece. This is how to make a bong more than just a tool you use, but a piece of art you have created.
All that’s left is to pack the bowl and let her rip.
How To Make A Bong Into A Rig
Now that you know how to make a bong, you might also want to look into how to make a bong into a rig.
Rigs are bongs specifically designed to help you smoke oil concentrates. While it’s recommended you buy a rig if you want to smoke oil frequently, many people want to give it a try before making the investment.
How to make a bong into a rig is actually pretty simple and inexpensive.
All you really need to add to your existing bong is a nail. These dab nails will replace your bowl on your stem.
The nails are used by heating them up with a torch and applying the oil concentrate to the superheated surface. From there you just simply inhale as you would smoking plain old weed.
Because these dab nails will be heated regularly, they need to be able to sustain high temperatures. They also need to be able to retain the heat as well.
Titanium is the most common type of material used for these dab nails. Titanium does not crack or break under extreme temperatures and can transfer heat well.
Most importantly, titanium has a very low outgassing rate when compared to other metals. Metals like iron or steel can produce harmful gasses when enough heat is applied to them.
It’s for this reason you should stick only with titanium when looking for a metal dab nail for your bong.
Quartz is another material ideal for dab nails. They’re durable and can withstand high temperatures. Quartz also will not impact the flavour of your oil. Whereas titanium can leave somewhat of a metallic twinge to the flavour, quartz heats flavoured oil cleanly.
The one drawback of quartz is it cools fast, so you need to be quick about applying your oil.
The Next Step
Now that you know how to make a bong out of a water bottle and how to make a bong out of glass, the next step is to procure the best cannabis product to use.
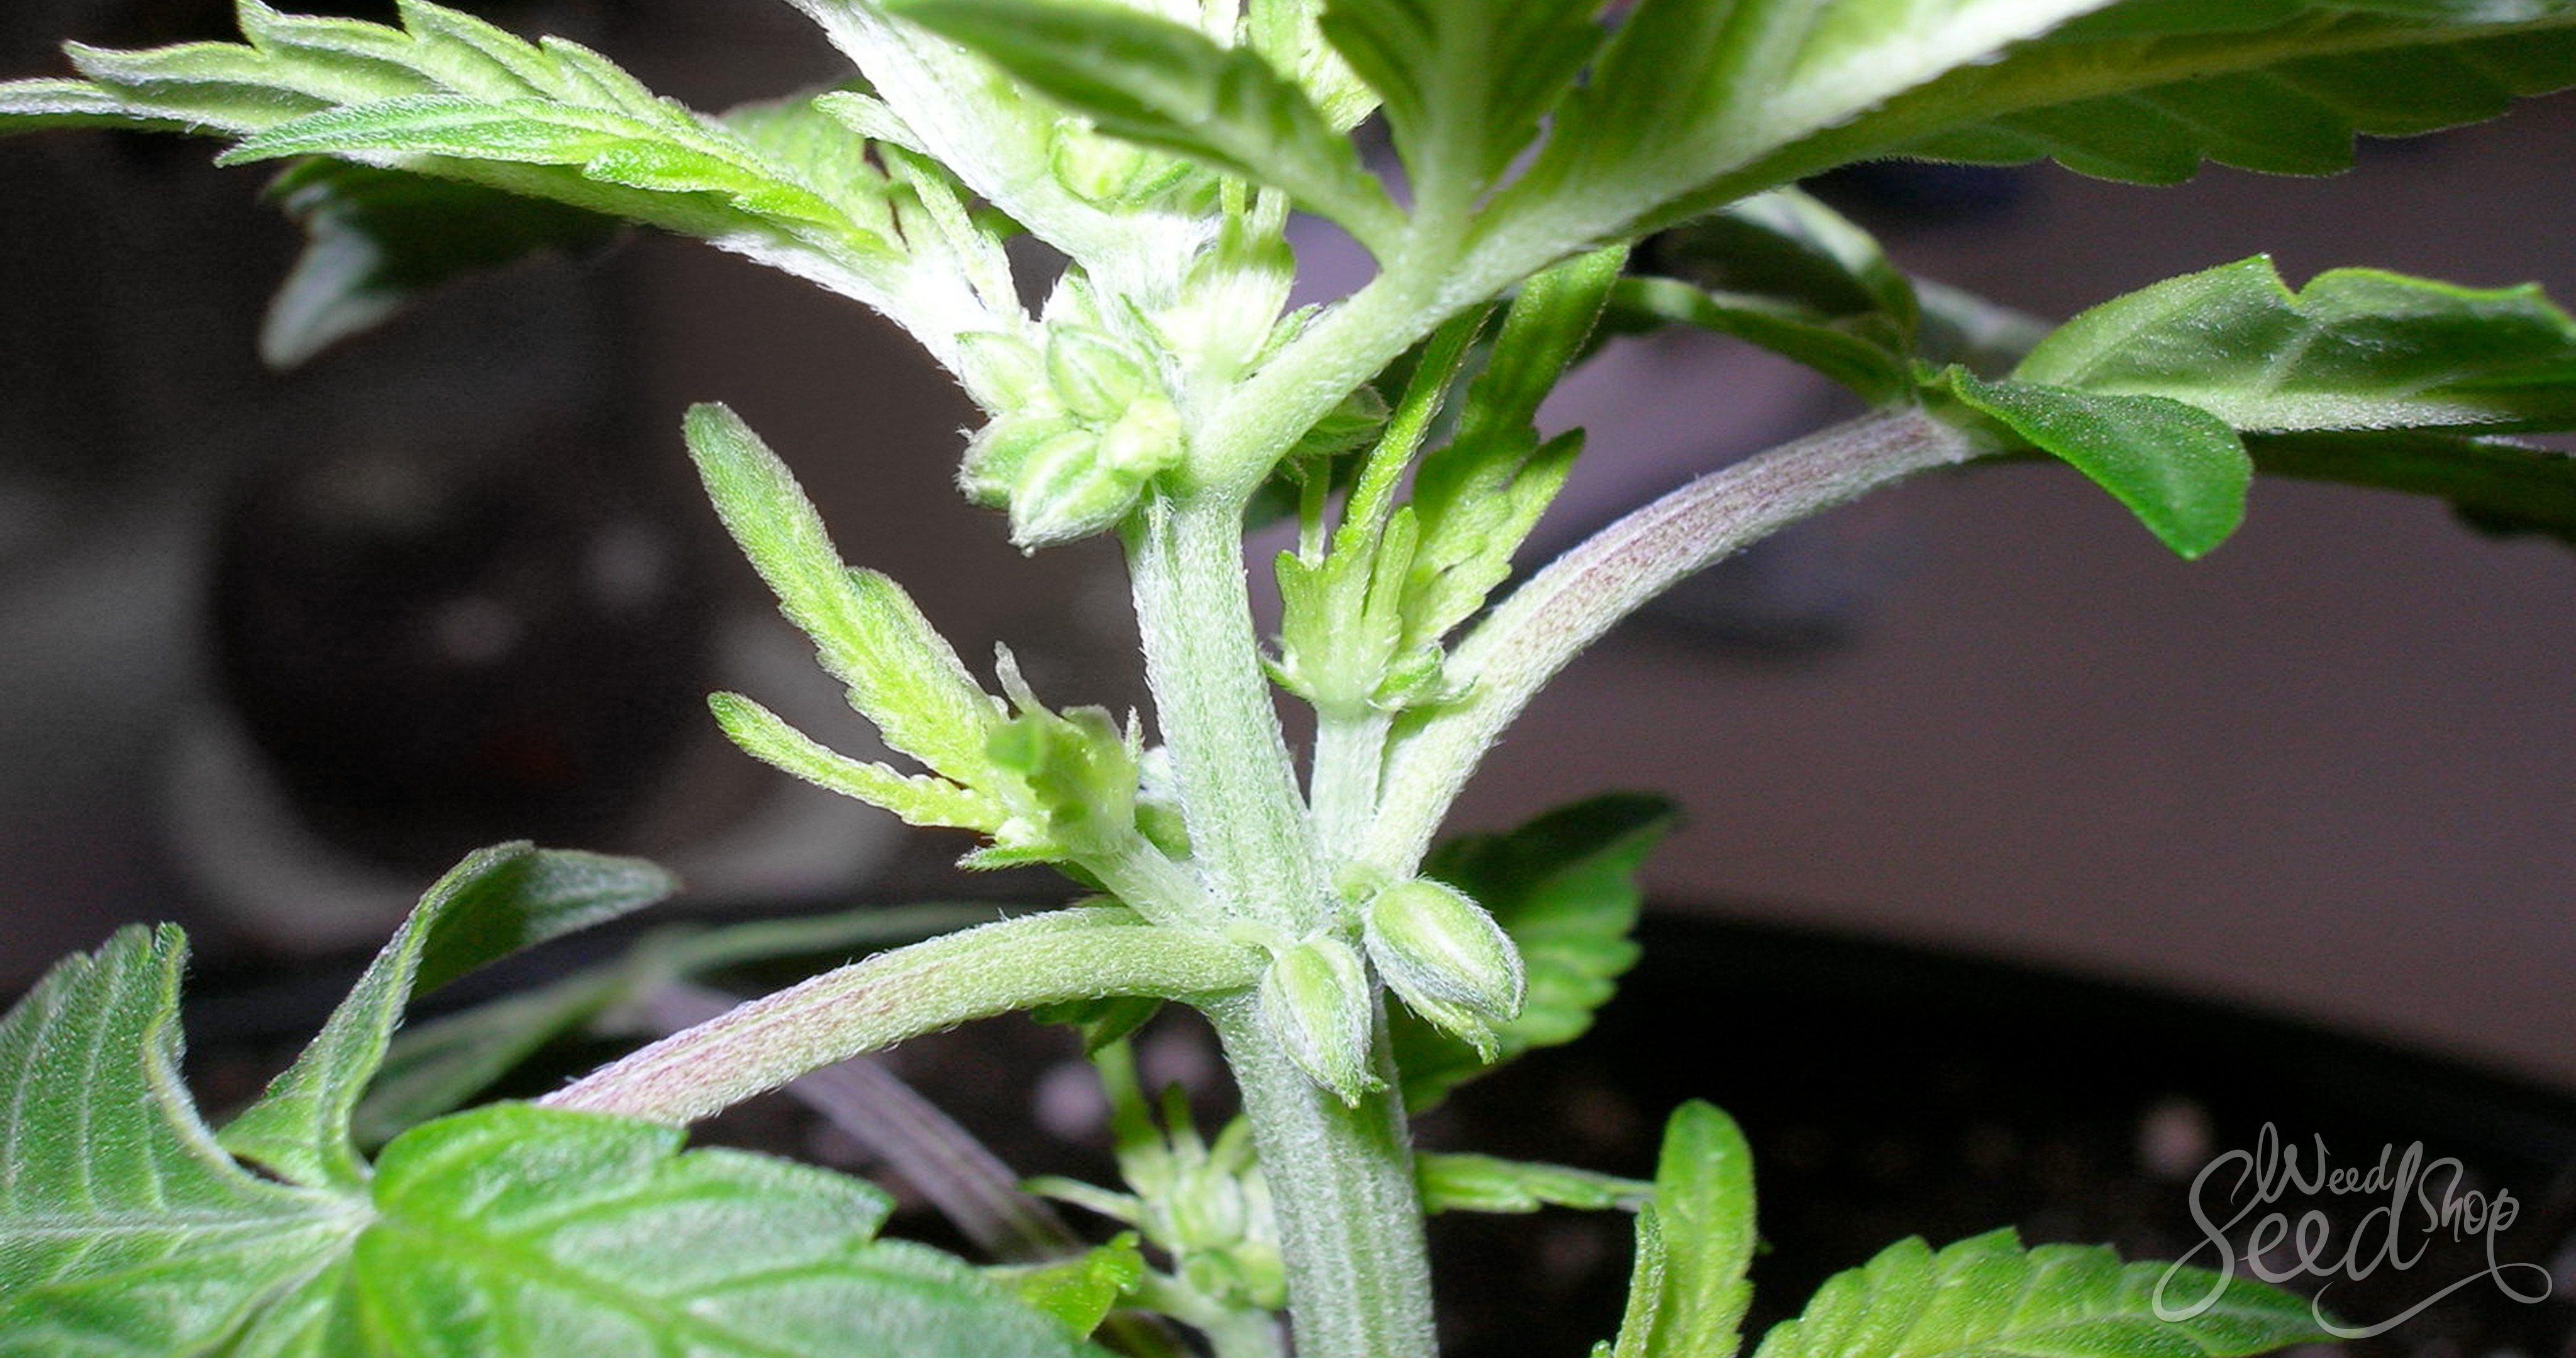
One of the best ways to ensure the high quality of your cannabis without continually breaking the bank is to grow your own.
With high yielding cannabis seeds, you will have the perfect companion to your newly constructed bong.
What better flower to use on a homemade bong than homegrown cannabis!


