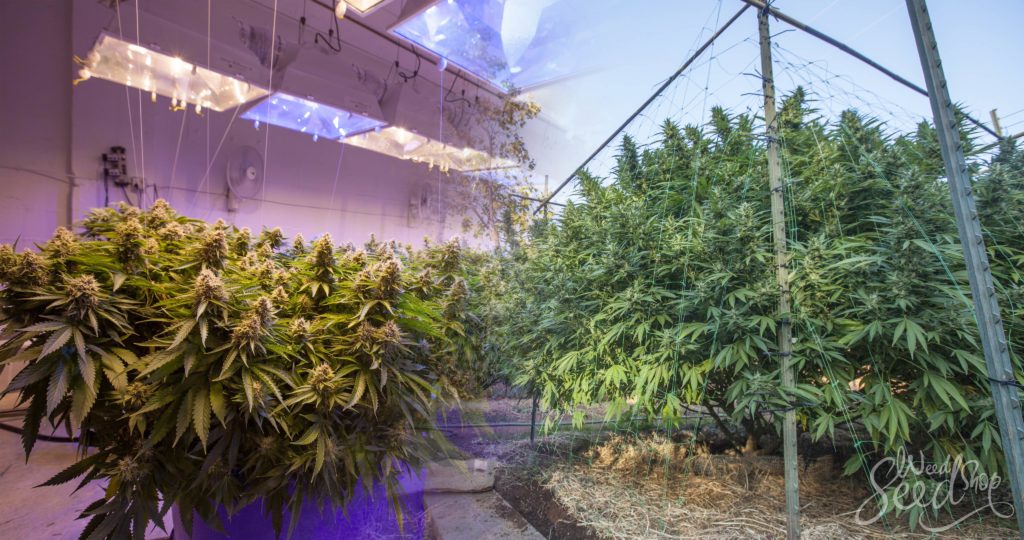
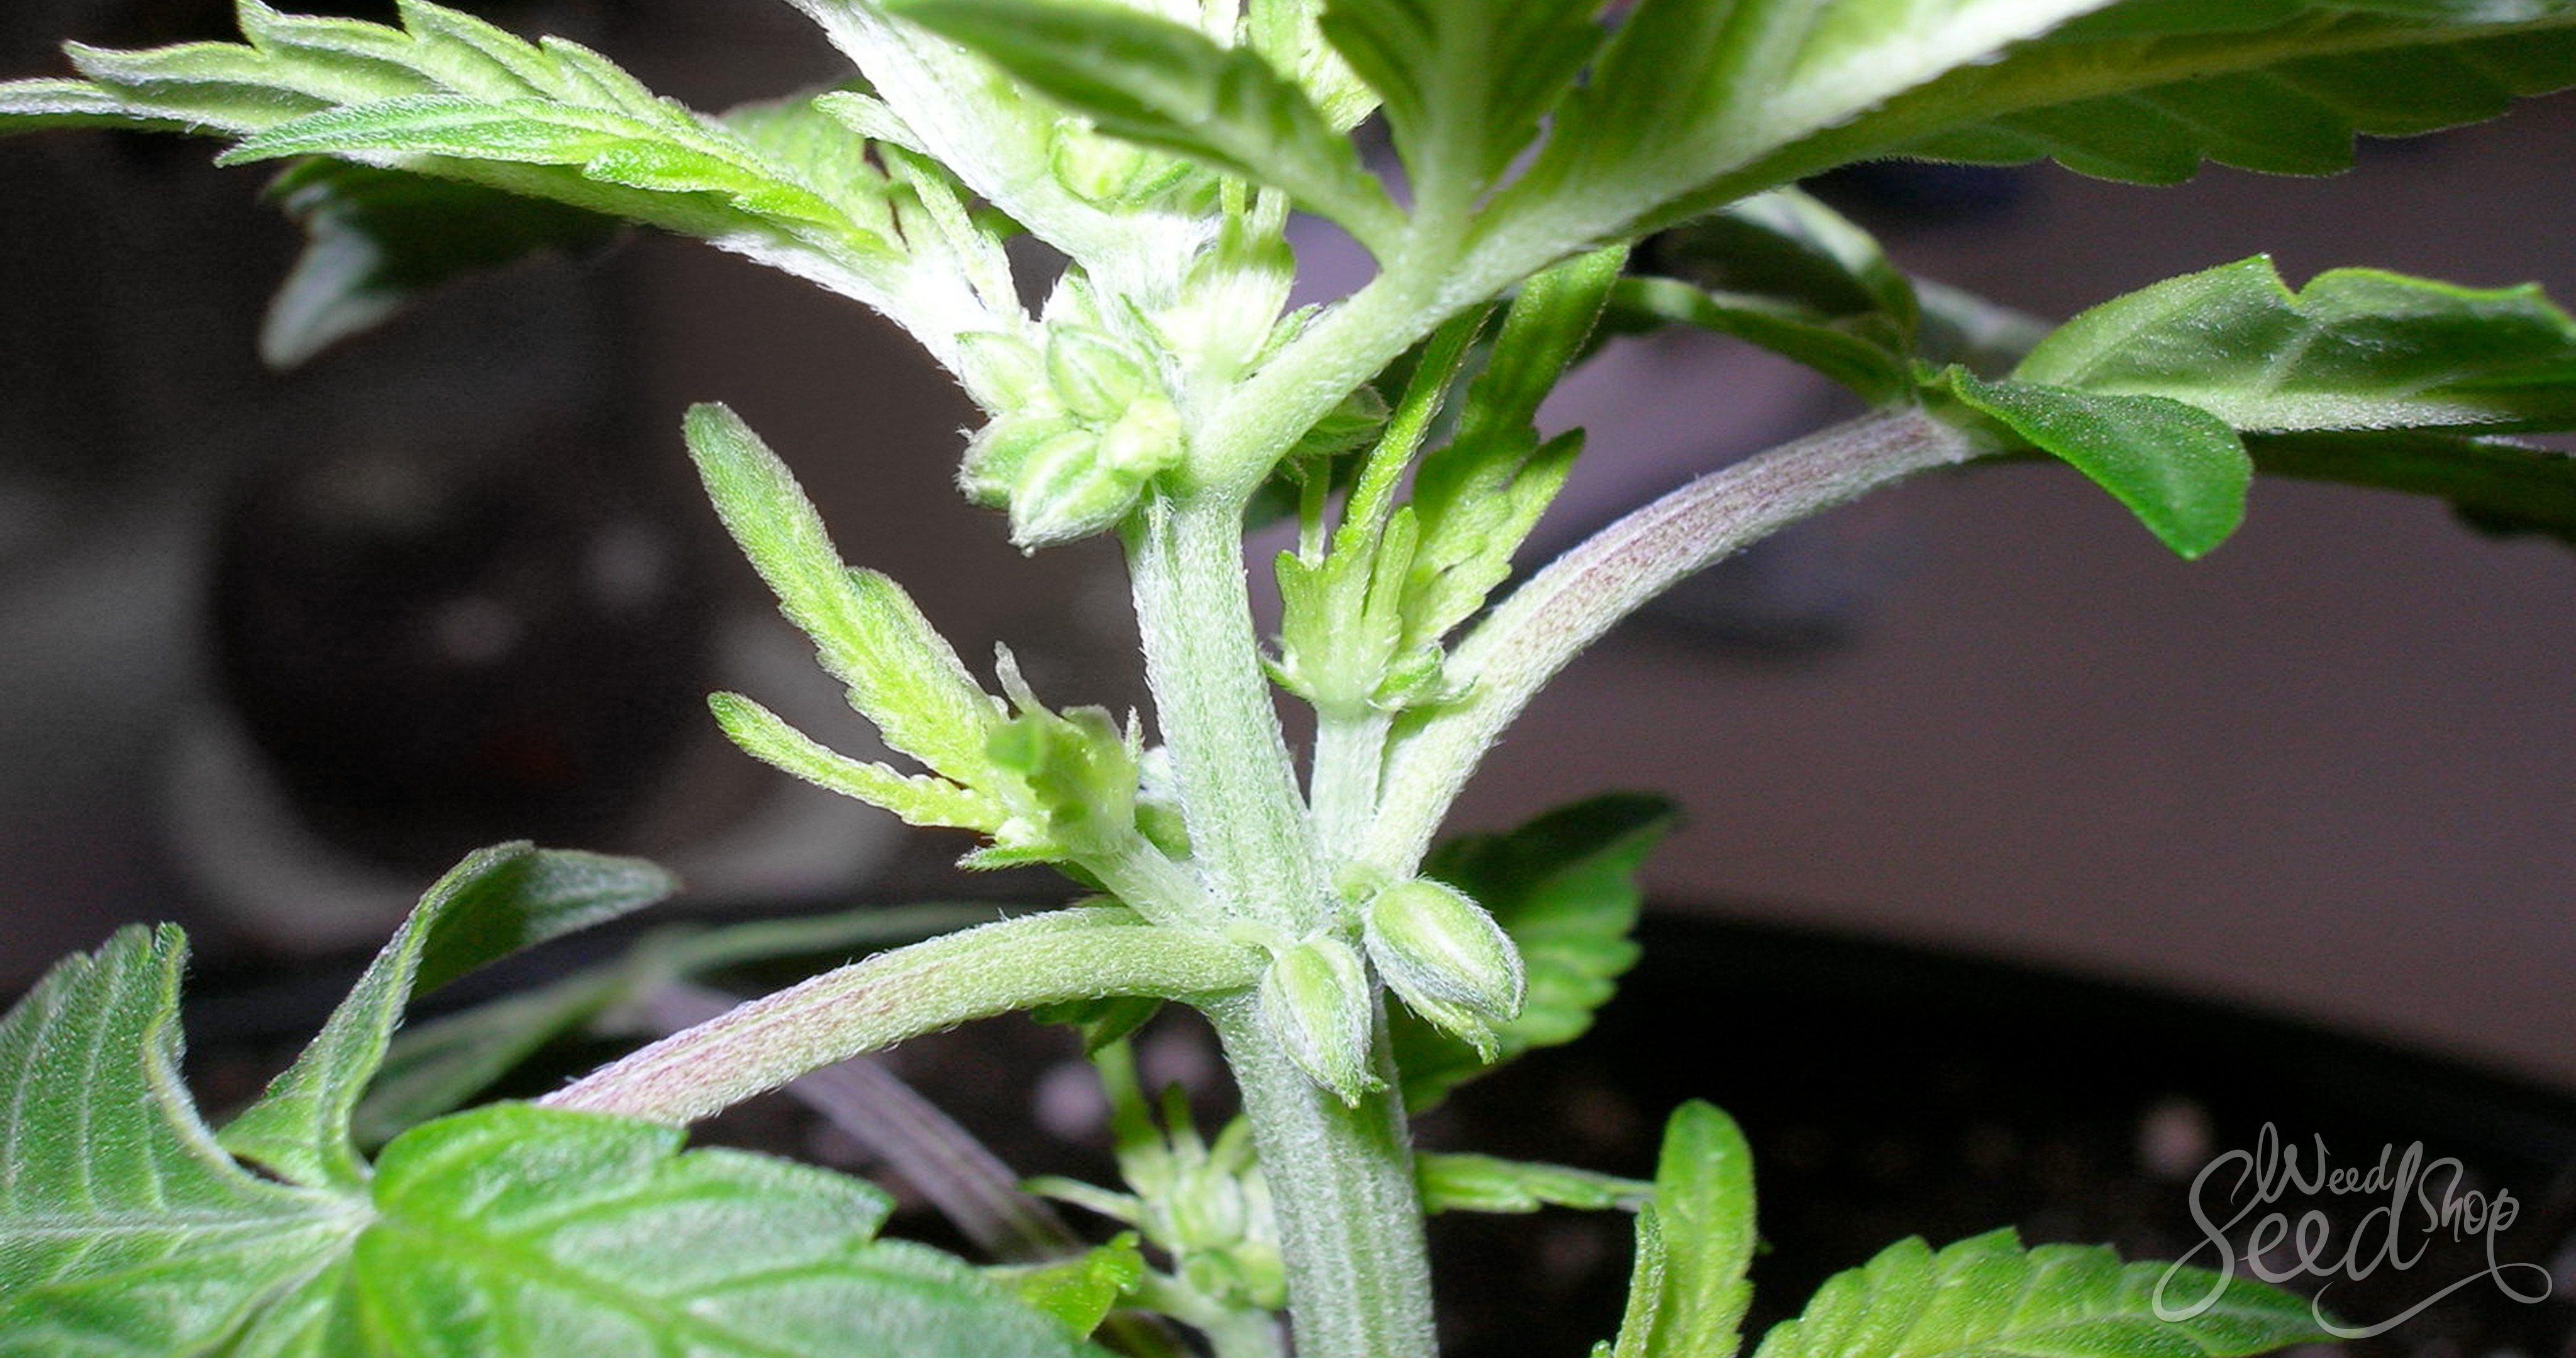
Whether you are into outdoor cannabis farming or opting for the convenience of an indoor grow house, having the right tools is a necessary part of cultivating a healthy crop. And though you may have the perfect equipment for growing one way, it may not be the right tools for growing the other. Here we will show you the right tools for growing outdoors vs. the tools for indoors.
You’ve heard the reports and you’ve run the numbers. You know that more than 22 million adults in the European Union use cannabis annually. You also know it’s a lucrative market, reaching more than EUR 9.3 billion per year.
You want to know what all the fuss is about.
If it were as easy as simply planting a few cannabis plants and reaping the benefits, everyone would be taking advantage of this valuable opportunity. Rather, there are several things to consider before investing in this cash crop.
One of the most important steps is deciding on your growing location. From there, you can determine if indoor growing equipment is required or if tools intended for outdoor use will do the trick.
Not sure where to start? You’re in luck. Today, we’re breaking down the differences between the two types of equipment and the main applications of each.
Are different tools required?
The short answer is, “yes.”
Think of it this way: Pretend that you want to grow an outdoor garden. While you could do some indoor prep work and even start your seedlings there, you’d eventually move the plants outside and into the ground.
From there, you’d tend to the garden with specific tools meant for digging, spreading, watering, and harvesting — outdoors.
This process differs from the one you’d perform if you were caring for a houseplant in your living room.
There are similar requirements, as both need feeding, pruning, and light. Yet, the tools that you use to perform those processes are vastly different. For indoor growing, you’d use a smaller watering can, and kitchen shears, to maintain the second plant’s growth.
The same goes for cannabis plants.
You can grow weed both indoors and outdoors, and there are myriad benefits to each option. The one you select will primarily depend on your space restrictions, the size of your crop, your personal preference, and your access to the tools and resources you’ll require.
Let’s discuss a few key pieces of equipment used for each scenario.
Indoor growing equipment: The basics
Growing cannabis indoors is a great way for beginners to dip their toes into the cannabis market. While you may have heard the industry buzzword “grow room,” don’t be too concerned if you don’t have a vast greenhouse-like structure with tons of high-end machinery in which to grow your plants.
If you have just a little bit of free space , the perfect seeds for indoor growing, and the proper indoor growing equipment, you can be up and running in no time. From a closet to a spare corner, almost any spot will do.
Before we discuss equipment specifics, there are a few things to keep in mind when deciding where to start your first indoor grow. You want to make sure the space is:
- Able to be totally darkened, with no light creeping in
- Large enough to accommodate rapidly growing plants
- Surrounded by surfaces that can easily be wiped down (think treated hardwoods or linoleum)
- Accessible enough for daily check-ins
- Climate-controlled and never reaches a too-hot or too-moist state
- Discreetly positioned to discourage unwanted interest or attention
So, once you’ve got the perfect place picked out, what’s next?
Now, you’ll need to invest in a couple of pieces of indoor growing equipment to maximize the fruits of your effort. Here are some of the main items you’ll need:
Grow lights
Above all else, proper lighting is essential to a healthy cannabis plant. Since your plants aren’t outdoors, they don’t have access to the incredible energy benefits that natural sunlight provides.
So, it’s up to you to give that to them!
As you research indoor growing equipment, you’ll likely come across myriad options for grow lights.
1. HID grow lights
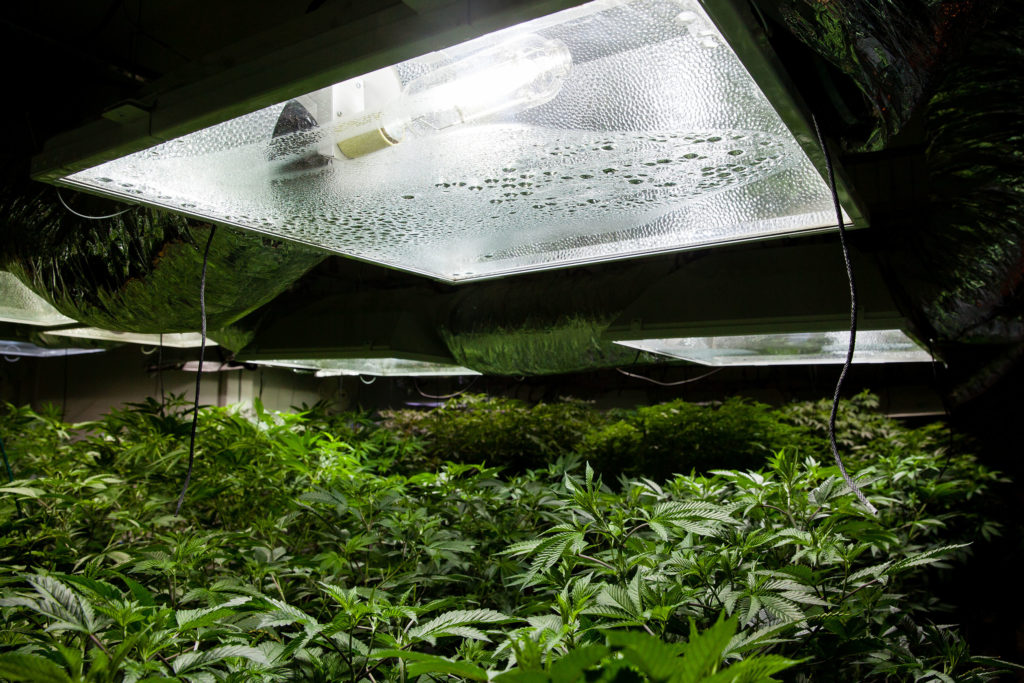
The most common type is HID grow lights. Standing for High-Intensity Discharge, these lights fall in the middle of the spectrum between traditional, incandescent light bulbs and increasingly popular LED lights.
Though they cost more than standard options, they are not as high-performing as most LED solutions, making them significantly less expensive compared to these high-end alternatives.
There are two primary types of HID lights. Metal Halide (MH) lights emit a light blue glow and are especially beneficial for the plant’s uber-important vegetative growth state.
Once buds begin to form, you can switch over to a High-Pressure Sodium (HPS) light. This type of lamp has been proven to be especially beneficial to helping the plant’s flowers develop properly.
When buying your lamp, be sure to also purchase its required accessories. You’ll most likely need a ballast and light hood or reflector for each bulb. All are required for a total indoor growing equipment package.
2. Fluorescent lights
Would you rather not spring for HID lights as part of your indoor growing setup?
If so, you can still get a similar effect using more traditional fluorescent bulbs. These lights usually come in a single package that also includes the ballast and reflector, so no need to shop twice for the same solution.
While you’ll save money in the short-term, these lights do come with drawbacks. For one, they’re substantially less efficient and as such, you’ll need quite a few more bulbs than you’d need with one high-performing HID light.
3. LED lights
LED lighting is having a moment.
Its recent upswing in popularity is no surprise. The bulbs are impressively long-lasting, produce higher-quality light, and send out far less heat than any other option.
Yet, expect to pay for what you get. If you opt for LED lights, you could be set back the amount of an HID lighting investment, times ten.
Environment control tools
Just as you need indoor growing equipment such as lights to mimic the sun’s rays, if you’re growing cannabis indoors you’ll also need a wind source to keep the climate controlled and to provide your plants with their essential CO2.
As you can’t rely on a pastoral breeze to waft through your home, you’ll need to recreate this movement yourself. This can be easy to do via an exhaust fan. Just place it near the top of your room so it can get to work removing the warm air quickly.
As you regulate the environment, check your thermostat. Here’s where it actually pays to grow indoors.
When your lights are on, ensure that temperature in your space is less than 30 degrees Celsius (86 degrees Fahrenheit), but above 21 degrees C (70 degrees F). When you flip that switch? Don’t let the temperatures dip below 10 degrees C (50 degrees F).
A final step to creating the perfect environment for your plants is to buy an inexpensive light timer. As you try to mimic the sun’s natural progression in the sky, it’s essential to the well-being of your plants that you stick to a routine.
The tools listed above are not all the tools that you’ll need. There are a couple more, like zip ties, a mister, etc. Check all of the tools that you’ll need in this article.
Outdoor growing tools: What you need to know
Do you have a little bit of land and a green thumb? If you answered, “yes!” then you may prefer to grow your weed outdoors.
As opposed to indoor growing equipment, outdoor growing tools are designed not to mimic the outdoor climate, but to help growers maximize it and make the most of their surroundings.
When selecting your outdoor growing space, try to pick a spot that is:
- Climate-appropriate, not maintaining temperatures above 30 degrees C (86 degrees F) or below 10 degrees C (50 degrees F) for a long period of time
- Away from high wind or heavy rain zones
- Absent of excess heat or moisture (to prevent mould growth)
- In the line of direct sun for at least five hours per day
- Appropriately concealed to protect privacy
So, what are some tools that are meant to make growing weed outdoors more accessible? Let’s check them out.
Weather-resistance gear
Even if you select the ideal location for your outdoor planting, there is still the chance that a rogue downpour will occur, or that the wind will suddenly pick up. If possible, bring smaller plants indoors and use indoor growing equipment mentioned above to take over the process indoors.
That’s when it pays to be prepared.
Having a few hot caps, frost jackets, cold frames, or other protective coverings on hand can help save your crop if the temperature drops to unsafe levels.
To stave off any negative effects from excessive wind, you can create a makeshift wind barrier with plastic sheeting and wooden stakes to redirect the air flow.
Those same two pieces of equipment can be used to physically cover your plants during the rain. You don’t want any water sitting stagnant on your leaves, as it could weigh them down and cause them to break off.
Watering tools
1. Watering can / sprinkler
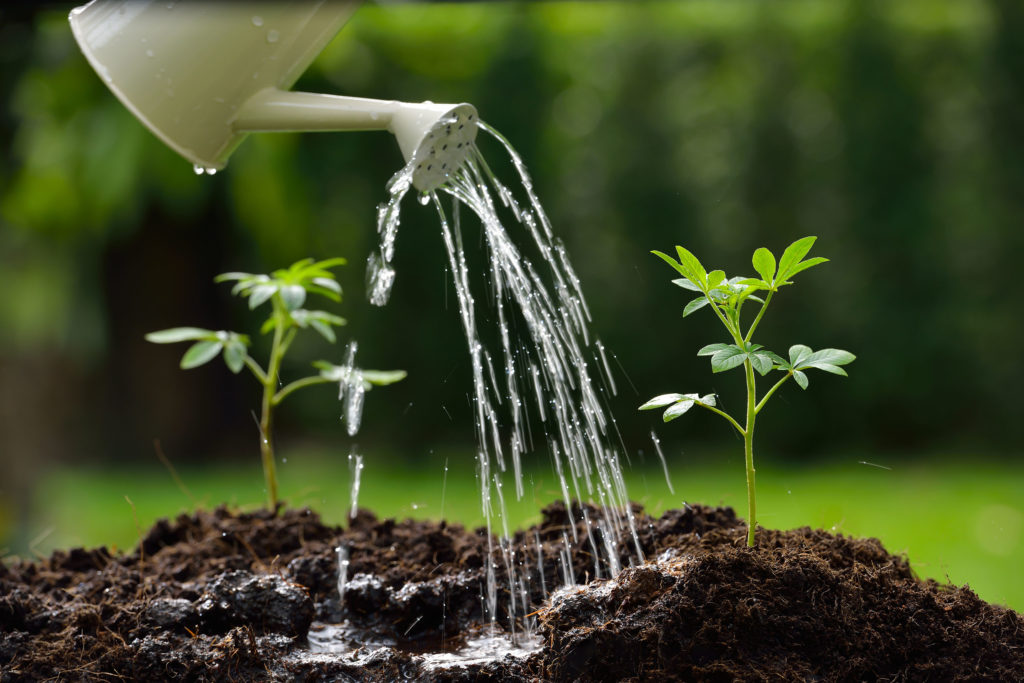
Though you’ll be outside with access to rain, you might live in a climate that sees more dry, hot days than damp ones.
If this is the case, you’ll still need to water your plants often, possibly even daily during the sweltering summer.
Invest in a heavy-duty watering can that can go the distance, or set up a simple sprinkler system to keep your plants healthy.
Keep in mind that too much of a good thing is actually a bad thing in this case.
2. Drainage
If your plants aren’t properly planted for efficient draining, the roots could become waterlogged and rotten. If you know you’ll be using a watering system frequently, try layering with some gravel or loose rocks as you prepare the planting space. You can also use raised beds to keep the roots drained.
3. Water tester
Think you can just go to the outdoor spigot, turn it on and fill up your watering can? Think again.
Tap and well water could both be filled with dangerous microorganisms. If possible, send a sample of the water off to be officially tested. Or, stick with using filtered water and save yourself some peace of mind.
4. Soil checker
Along the same lines as a water tester, a soil checker also monitors growing conditions to ensure they’re on the right track.
Over-watering is commonly contributed to the death of many cannabis plants. In your quest to fill up your plants to capacity, you may have inadvertently made them too moist.
Tired of testing the soil yourself and want the reassurance of a smart tool? Invest in a pocketbook-friendly soil moisture meter. This meter will inform you on whether or not your plants need a fill-up.
When they do, water strategically. Give the top layer a good soaking, then wait a few days until everything dries up before you start to water again.
Gardening containers
Lack the space for a traditional, in-ground garden? That’s perfectly fine! You can still grow your own weed by making a container garden.
This process is fairly straightforward. To get started, just look for an old bucket around your home. For this process, a 20-40 litre bucket works best.
After you put your plants in the containers, take them out of direct sunlight and allow them to rest in the shade. You’ll also need to water your container plants at a much higher frequency.
Ready to Grow Your Own? We Can Help!
Now that we’ve discussed the top differences between indoor and outdoor equipment, are you ready to start growing for yourself?
If so, we can help.
We can provide you with either indoor or outdoor seeds, and with all the info you need right here on our blog. Still have any questions? Let us know in the comments or shoot us a message! Let’s grow together!


