Transplanting a cannabis plant from a pot into the ground isn’t always an easy task, especially if you are new at growing. Sometimes the plant can react to the changing environment and won’t survive. We have some tips to make sure your plants stay happy and healthy during the transplant procedure. Read more in this article.
If you’ve just planted some seeds and have some baby cannabis plants growing in some pots, the time is approaching where you will need to transplant them into another pot. Growing cannabis in pots while they are young encourages the roots to grow shorter and denser, and this of course promotes a healthier and happier plant. In pots, the roots are also able to be more evenly branched, with all of the branches growing at the same rate. So, to assist this process so it continues, it is necessary to periodically transplant your cannabis into a bigger pot.
What eventually happens is that the roots grow right to the edge of the soil and begin to touch the pot. At this point the plant is said to be “rootbound.” If you leave your cannabis plant in a pot after it has been rootbound, it will seriously stunt the growth of your plant. So, when the plant reaches this stage, or just slightly before, it’s is a good time to transplant.

How to know it’s time to transplant
The main way to know that your cannabis plant is ready for a bigger pot is that it will need watering much more frequently than it usually does. It will also probably start to display symptoms of being unhappy — such as completely stunted growth. The leaves may begin to turn yellow and wilt. This means it’s time to transplant; otherwise you could stunt the growth of your plant forever.
Cannabis plants could need transplanting for the entire vegetative stage. As long as there is room for your roots to grow (and enough light per day), they will continue to do so. In the beginning, when the plant is experiencing what could be called its growth spurt, it could need transplanting quite often, such as once a week. However, after this initial growth spurt, the rate at which you will need to transplant it will decrease.
Be careful of transplanting into a pot that is too big. One of the main reasons for growing weed in pots is so that the soil does not collect too much moisture, causing the roots to rot. It is better to increase the pot size in appropriate increments than to rush to a container that is too big and risk losing your roots to rot from moisture.
What to avoid when transplanting cannabis
The main risk when transplanting cannabis is that the plant will go into shock and will not be able to recover. This can happen for a number of reasons. For example, when you are handling it, if you are too rough and damage the stem, the plant could be shocked by the trauma and will not continue to grow in a healthy manner. The same could occur if the roots get damaged while you are taking the plant out of the pot, so be mindful to handle the plant with care.
When you are transplanting the weed into a bigger pot (or into the ground), you should also be using soil that is similar to or the same as the kind it was taken out of. This is because changing the environment too much can damage your plant and can also cause the plant to go into shock, so the idea is to minimise the changes that occur to the plant’s environment.
Even though cannabis plants are generally quite strong and resilient, they can be very delicate when they are just little babies. The point is to be very careful and gentle with them, as they are fragile in this stage of life. In most cases, a simple transplant is not going to shock your plant too much, but particularly in the case of sativas, for example, they can be especially delicate. Just always be mindful when handling your cannabis plant!
How to perform the transplant
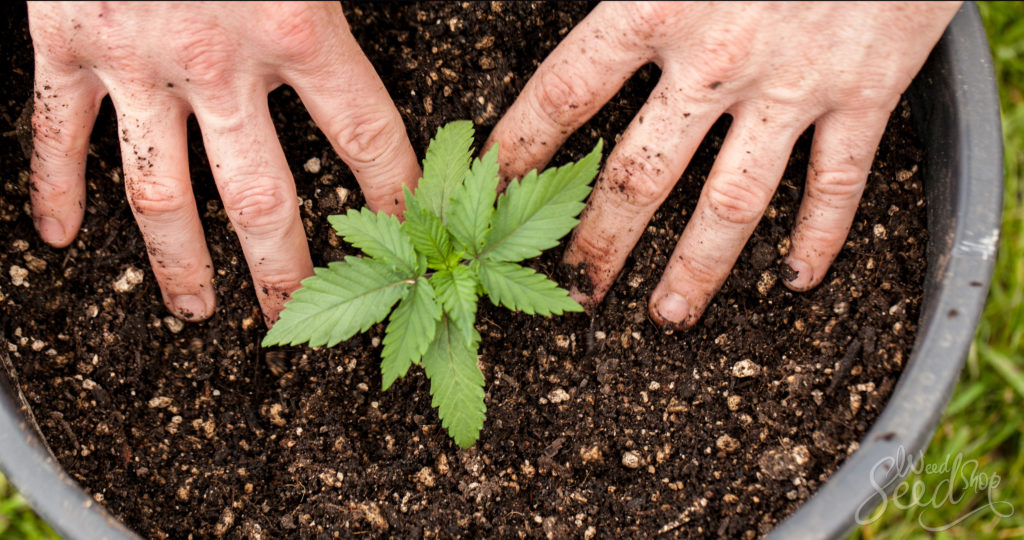
To transplant your cannabis plant from one pot to another, the first step is to prepare a new container. Make sure it is large enough to accommodate the new root growth without being too large. For example, if you start in a 2-litre pot, you can move on to a 4-litre, and then a 10–litre pot and so on. Where you decide to stop will depend on whether you are growing indoors or outdoors, your space limitations, and how big of a pot you can manage to acquire. To prepare it, half fill it with soil, making sure that the ball of roots you pull from the old pot is going to fit in nicely. Press the soil down firmly to allow for optimum water drainage.
Take your old pot and hold your cannabis plant at the base of the stem near to the soil. Turn the container upside down and lightly tap the underside. The root ball should slide out easily with the soil inside, especially if it is a little dry. The root ball usually comes out in exactly the shape of the container it was growing in. Put this in the new pot and fill it up with soil, making sure the root ball is very snugly surrounded by soil.

Some tips for easier transplanting
Some growers recommend drying out your plant a little bit before transplanting to make it a little easier. This allows the plant to slide out of the pot with a little less stress, but there is the risk of letting your plant dry out too much. This can damage your plant for the rest of its life, so if you choose to do this, don’t leave it for longer than 24 hours without being watered.
Indoor growers may reduce the light intensity so that the environment isn’t too stressful after the transplant. Keep a close eye on the plant after doing this, and when you’re confident that the plant is happy in its new home you can turn the light intensity back up again. You also have the option to give your plant a nutrient solution (perhaps two-thirds the strength you would usually give) and lightly water it with this.
The overall idea is to minimise stress on the plant during this process. If you handle with care and just keep an eye out for any signs of discomfort, your plant should be just fine through the transplant process!


